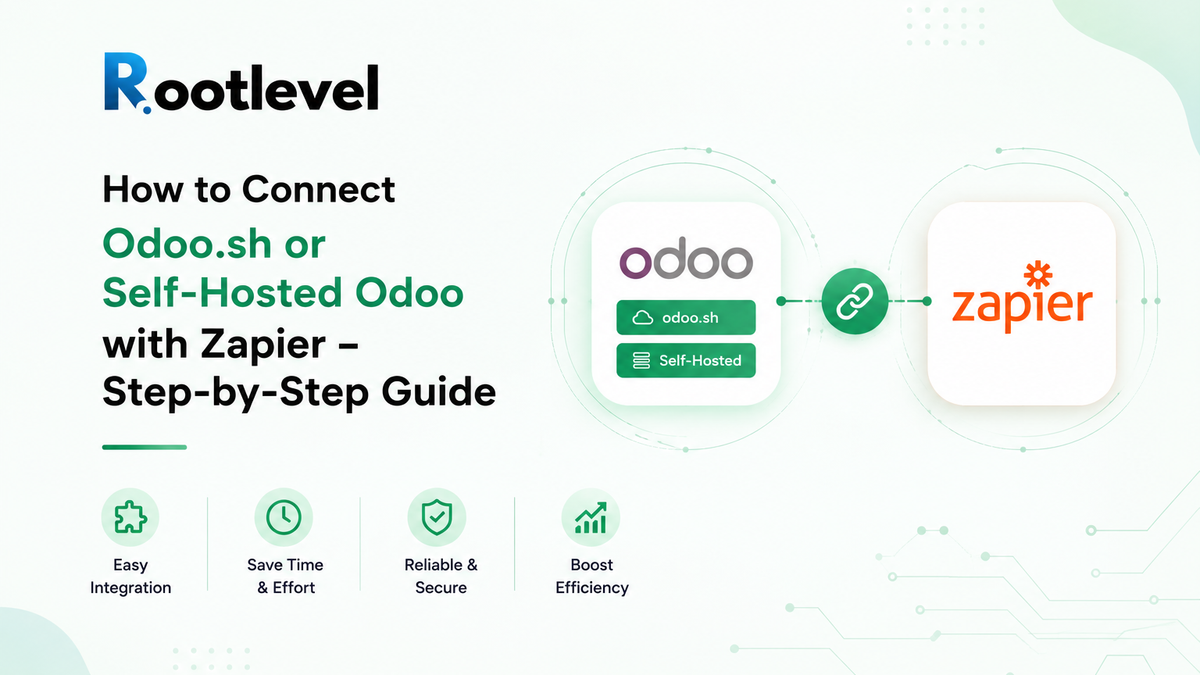
How to Connect Odoo.sh or Self-Hosted Odoo with Zapier – Step-by-Step Guide
With this connection, you can automate processes, save time, and keep your data in sync across your favorite apps.
Step-by-Step Guide
Automation can save your business hours of manual work every week, and connecting Odoo with Zapier is one of the fastest ways to make it happen.
Whether you’re using Odoo.sh or a self-hosted Odoo instance, the process is the same — you’ll be using Zapier’s Odoo ERP Self Hosted app to link them together.
Follow this guide to set up the connection in just a few minutes.
Step 1: Log in to Zapier
- Go to Zapier and sign in to your account.
- If you’re new to Zapier, sign up for a free account before proceeding.
Step 2: Create a New Zap
- Click “Make a Zap” to start creating your automation.
Step 3: Choose Your Trigger App
- Select the app that will start the workflow.
Examples: Google Forms, Gmail, Typeform, Shopify, etc. - Choose the event that will trigger the automation (e.g., “New Form Entry”, “New Email”, “New Order”).
Step 4: Select Odoo ERP Self Hosted as the Action App
- Search for “Odoo ERP Self Hosted” in Zapier’s Action step.
- This is the correct option for both Odoo.sh and self-hosted setups.
Step 5: Connect Your Odoo.sh or Self-Hosted Account
When prompted, enter:
- Odoo URL – Your full Odoo URL (e.g., https://yourcompany.odoo.com or https://yourdomain.com).
- Odoo Username – Usually your Odoo login email.
- Password or API Key – For security, use an API Key (in Odoo: My Profile → API Keys → Create).
- Database Name – Found in your Odoo URL after /web?db= or in Odoo.sh project details.
Step 6: Define the Odoo Action
- Choose the action you want Odoo to perform (e.g., create a record, update a record, create a lead).
- Map the fields from your trigger app to the corresponding Odoo fields.
Step 7: Test the Zap
- Run a test to check that the connection is working and the data flows as expected.
Step 8: Turn On Your Zap
- Once the test passes, click “Turn On” to activate your automation.
Tips for a Smooth Setup
- Use API Keys instead of passwords for better security.
- Double-check the database name to avoid connection errors.
- Make sure the Odoo user has correct permissions for the actions you want.
- Map fields accurately to maintain clean and consistent data.
Conclusion
That’s it! 🎉 You’ve just learned how to connect Odoo.sh or self-hosted Odoo with Zapier.
With this connection, you can automate processes, save time, and keep your data in sync across your favorite apps.
in Knowledge Base# How to connect Odoo to Zapier Odoo ERP integrations Odoo.sh Zapier integration Self-hosted Odoo automation Zapier workflow with Odoo